Deploying an Agent Through the Dashboard
Last updated: March 12, 2026
This guide walks you through deploying the xlsx-extractor agent to your Flatfile environment. Start in development — test everything there before repeating the process in production.
Step 1: Navigate to the Agents Tab
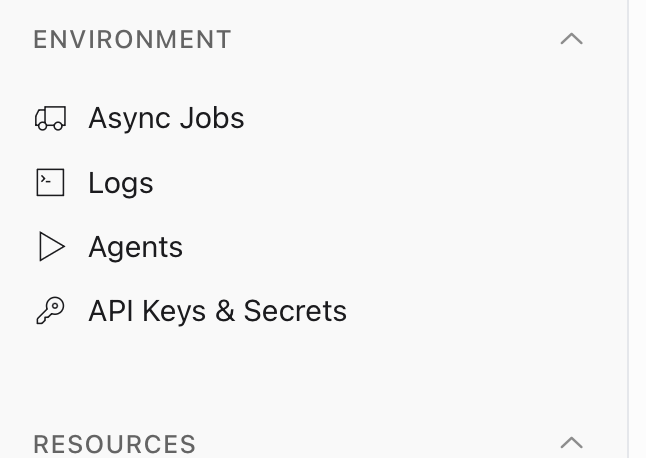
Open your workspace and select the development environment. Go to the Agents tab.
Why development first? It's the safer environment to catch issues before they affect live data. Once the agent is running as expected, repeat these steps in production.
Step 2: Select the xlsx-extractor Agent
From the list of available agents, select xlsx-extractor. Uncheck any other agents that may be pre-selected — only this one is needed for this use case.
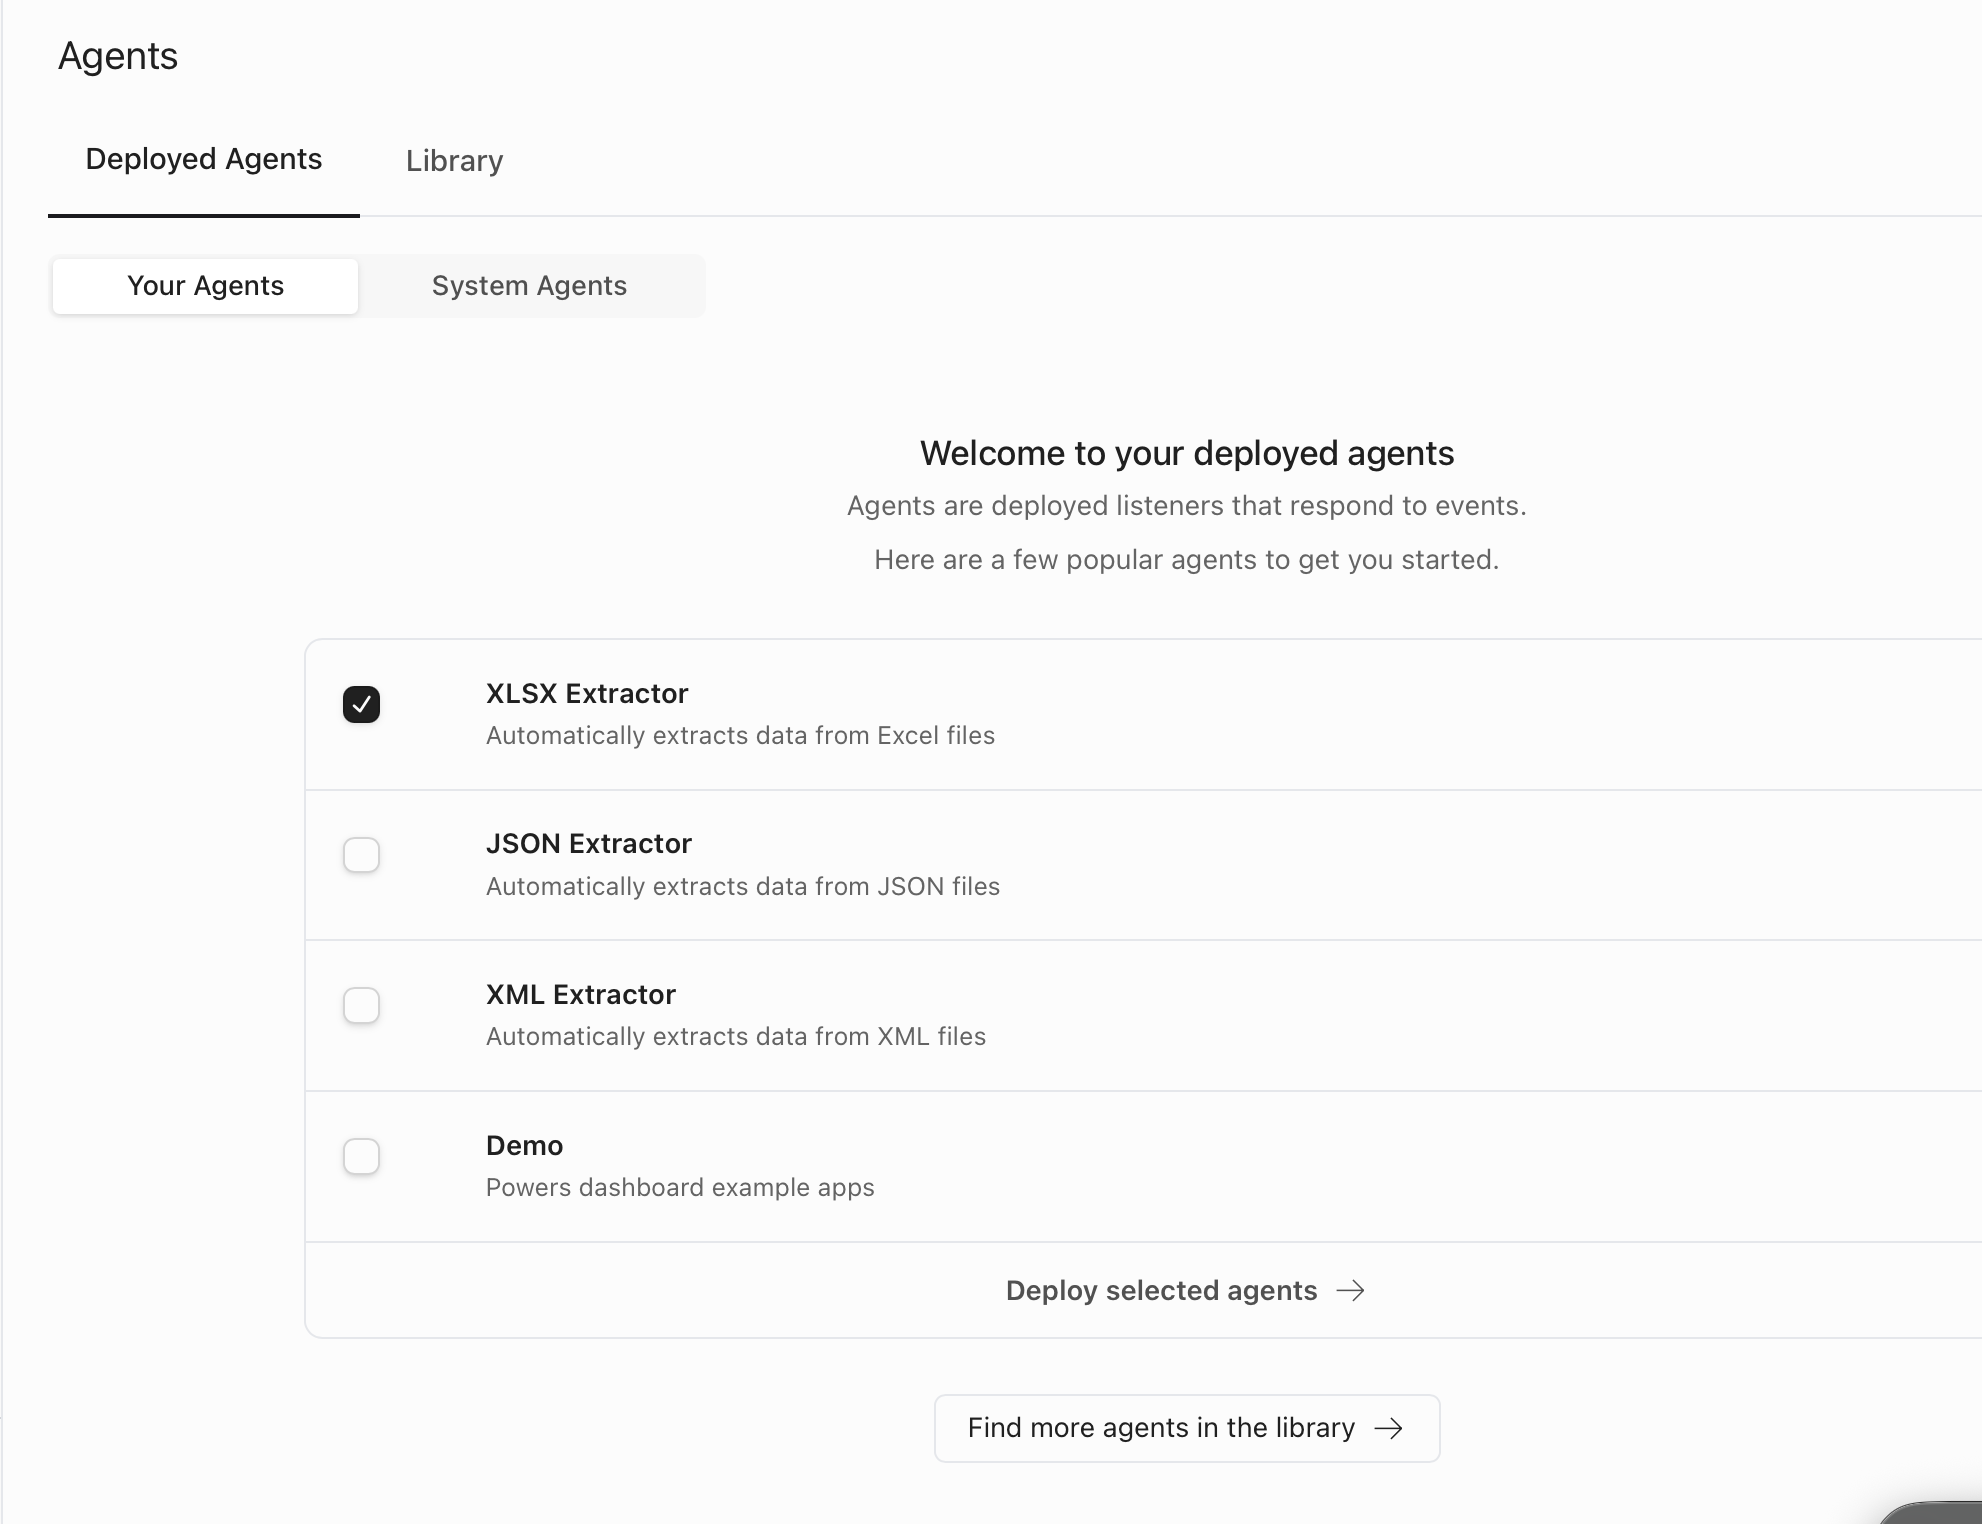
Step 3: Deploy the Agent
Click Deploy selected agents. The deployment only takes a moment.

Step 4: Confirm the Deployment
Once deployed, you'll see xlsx-extractor listed as an active agent in your selected environment. Each environment manages its own agents independently — what you deploy to development won't automatically appear in production.

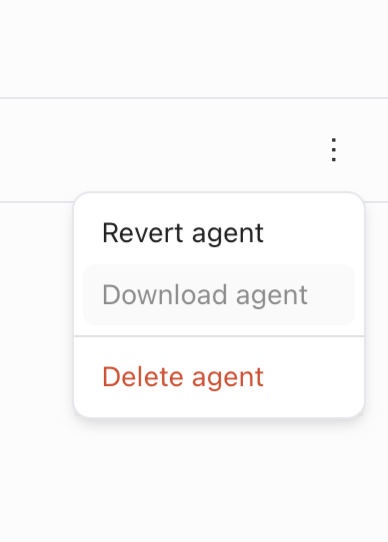
Deleting an Agent
If you need to remove the agent, click the three-dot menu to the right of the agent name and select Delete Agent.
Heads up: Deleting and redeploying is currently the only way to update an agent to a newer version. That said, xlsx-extractor is in maintenance mode — version changes are not expected for the foreseeable future.
Ready for Production?
Once you've confirmed the agent is working correctly in development, navigate to the production environment and repeat Steps 1–4.